Windows Server 2016 comes with many brand-new features and options. One of the new deployment options is Nano Server, a new headless installation option for Windows Server 2016. Nano Server is a highly-minimized installation that is 20-25x smaller than traditional Windows, which only includes the required bits for the running OS. A unique component of Nano Server is the fact that it has no Graphical User Interface (GUI) and no built-in management tools, it’s the only recovery console where you can change network settings, firewall rules, and reset WinRM. The administration is required to be completed remotely via remote management tools such as PowerShell or Server Manager. The main premise behind this allows the server and applications to better utilize resources while at the same time providing higher security due to the much smaller attack surface.
If you have specific requirements, such as Hyper-V, Windows Failover Cluster, IIS, Scale-Out-File-Server or the DNS role, then you need to add those specific packages during (or after) the Nano Server deployment. During the image package generation process is when you can set the required roles that will be present.
Today I will walk you through the process of creating a Nano Server host that will serve as a Hyper-V node. This Hyper-V node will become a member of a Windows Failover Cluster as well.
Creating a new Nano Server
There are several ways to build Nano Server. You can use Nano Server Image Builder with a graphical interface or PowerShell. In this post, I’ll concentrate on the PowerShell deployment. So, unlike traditional Windows Server installations, the Nano Server install is initiated via a folder that is located on the Windows Server 2016 ISO. Within this folder are all of the required components to get up and running. To start with, you should download the Windows Server 2016 ISO image and mount that image to a Windows Server or Windows 10 machine already deployed within your environment. The first step is to fire up PowerShell ISE in administrator mode and then load the Nano Server module. Below you’ll find all the steps for the new deployment.
Once we have our PowerShell ISE session running, let’s set the PowerShell execution policy. This will let us run PowerShell Scripts without any restrictions. Without this, only single commands or digitally signed scripts can be run (defaults depends on Windows version you are running):
Set-ExecutionPolicy -ExecutionPolicy Unrestricted
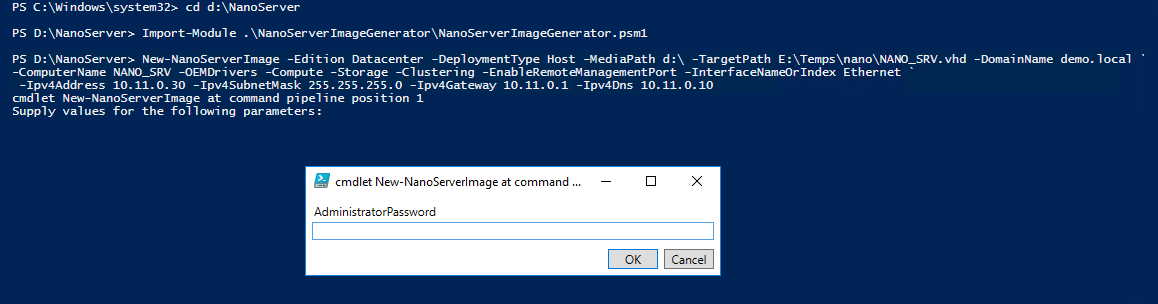
Next, we’ll need to create the image. In my environment I have Windows Server 2016 ISO mounted to d:\ so I’ll start with going to the Nano folder on install ISO:
Edition allows you to select the Nano Server flavor: Standard or Datacenter. If you plan to use Shielded VMs or Storage Spaces Direct, then Datacenter it is. A Datacenter license also has the right to use unlimited Windows Server VMs on that host
DeploymentType Host: This will prepare the image for a physical machine (Guest switch is dedicated for guest VMs)
DomainName: If you specify this parameter, Nano will use offline domain provisioning and the Nano computer account will appear in Active Directory domain. The whole process will be completed during the first boot. If you are redeploying this image, an additional parameter – ReuseDomainNode - can be required. This option can only be used when the computer we are using to prepare Nano is domain joined and in the same domain as our future Nano Server. In other cases, a domain blob harvest can be used.
OEMDrivers package contains the basic set of drivers, mainly for network and storage adapters.
Compute is responsible for deploying the necessary Hyper-V bits
Storage package contains storage components
Clustering - Failover clustering
EnableRemoteManagementPort will enable WinRM (from different subnets)
Another interesting parameter (not used in my example) could be MaxSize 100GB. It will allow the Nano VHD or VHDX to grow up to specified value. This is important if you plan to store some additional files on the c:\ path of Nano Server (i.e. local virtual machines).
If you have specific physical hardware drivers, you can add those with the parameter -DriversPath <path:\Drivers>
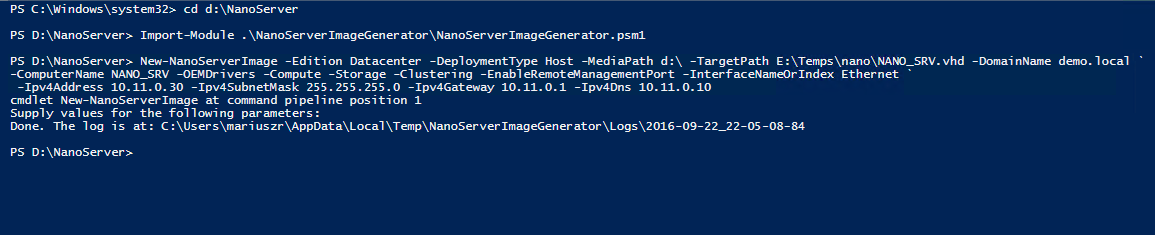
At this stage, we should have the Nano Server image ready. Next we will deploy it to a physical server.
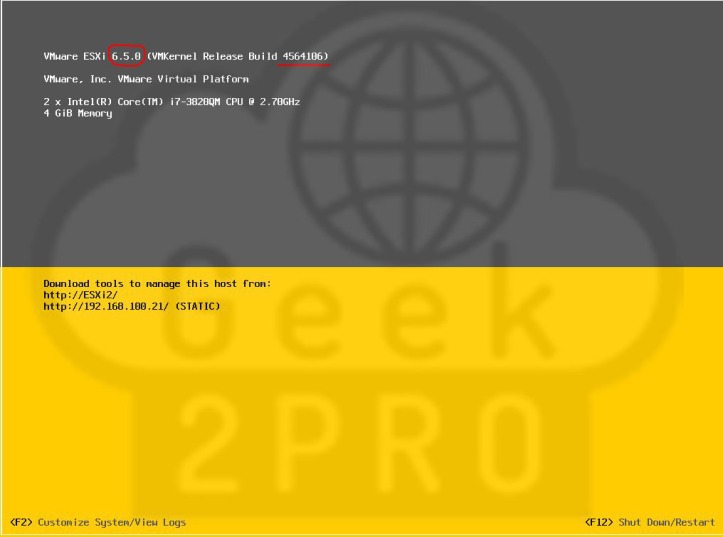
We can now can use the generated VHDX image for booting on physical computers. There are several ways to do this. We can use, for example, System Center 2012/2012 R2/2016 – Virtual Machine Manager for bare metal deployment, or we can use the bcdboot command to configure boot from VHD/VHDX on that machine. In my case, I will use bcdboot.
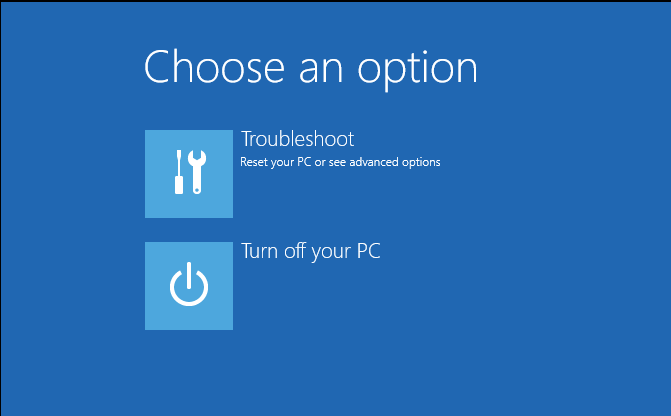
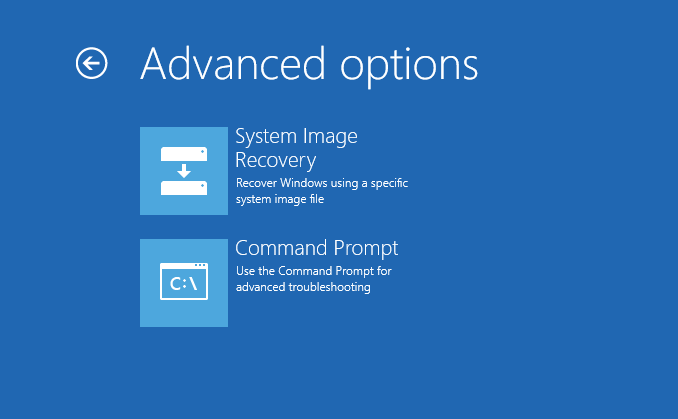
For a fresh server, you should copy the VHDX with Nano Server to a USB stick. Then boot the new server with Windows Server 2016 ISO and choose Repair your computer > Troubleshoot > Command prompt.
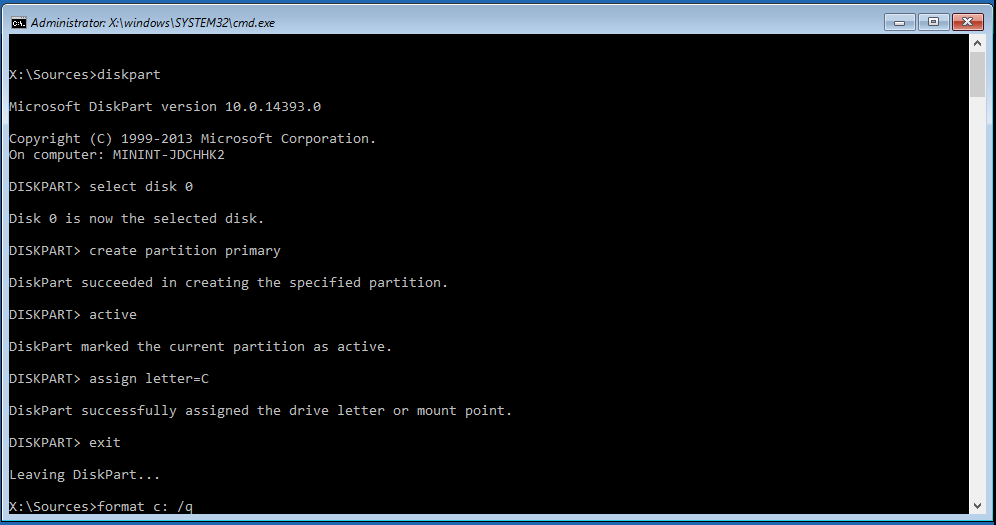
The next steps are to create the partition, assign a logical letter and format the boot partition where the VHDX will be stored. Diskpart can help with this.
diskpart
select disk 0
create partition primary
active
assign letter=C
format c: /q
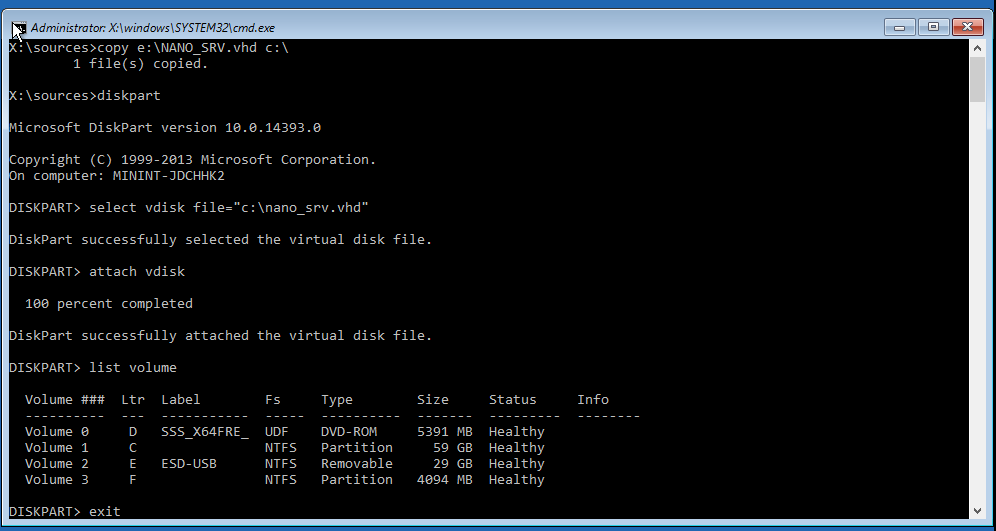
You can now can copy the VHDX file from the USB stick to the C drive (for example, copy e:\nano_srv.vhdx c:\).
We complete the process with mounting our vhdx file:
diskpart
select vdisk file=”c:\nano_srv.vhdx”
attach vdisk
list volume (To verify where our vdisk is mounted, f: drive, in my case)
exit
We will now prepare the VHDX for booting:
f:
cd windows\system32
bcdboot f:\windows
Finally, some cleaning details:
diskpart
select vdisk file=”c:\nano_srv.vhdx”
detach vdisk
exit
The server can be rebooted now. When Nano Server starts, you should be able to logon with the domain credentials.
At this stage, you should be able to ping Nano Server by name, browse shares and add it to Hyper-V Manager. Next we will configure our Nano Server.
we've created a new nano server image and deployed it on a physical server. Now we will go through configuration.
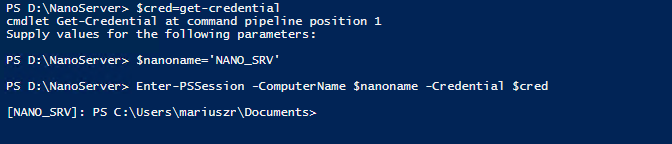
First we need to connect remotely to that machine over PowerShell for further configuration.
In my case I have test environment, so I set first command to Unrestricted. Be careful with this setting in production as it allows to run unsigned scripts. Later, with the Restricted or RemoteSigned parameter you can lock back the execution policy.
The second command is for removing restriction for PowerShell remoting. I used asterisk to allow any computer in my lab to connect remotely. Don’t do this in production. Instead limit allowed computers by name or IP.
Again, I recommend you to carefully use both commands in production. It’s NOT security best practice to open computer so widely.
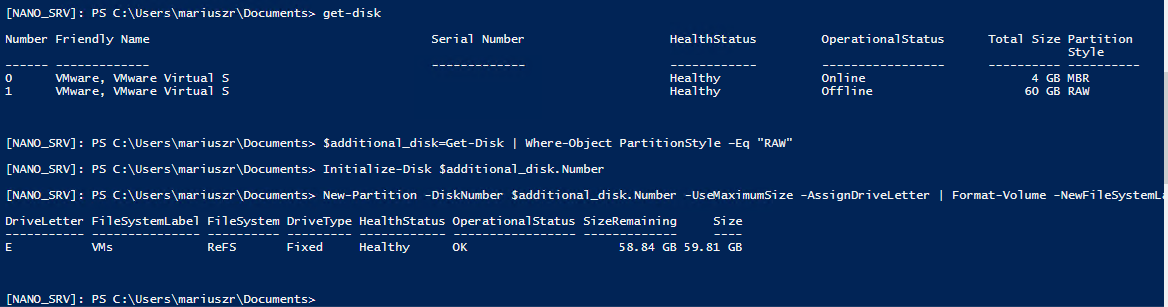
In the following steps, let’s add additional storage in the VMs location.
The first command is to get information about all connected disks
The second line is to select disk with RAW partition
Third line will initialize selected disk
Fourth command will create new partition with maximum size and format it with ReFS file system.
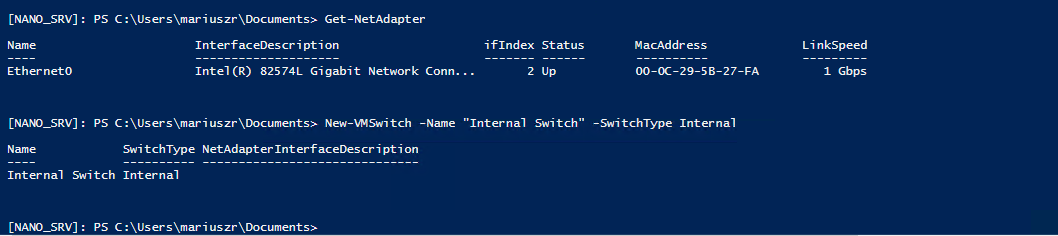
Now creating a switch. I’ll start with the Internal one. Creating Internal Switch is optional. I’m creating it for future tests only. So, if you are working with production environment and you don’t need such swich you can skip this step.
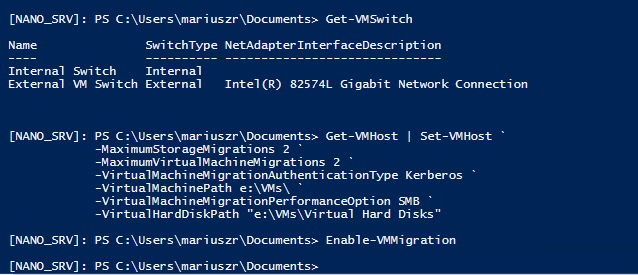
And now the normal switch. You can create it on any network interface. In my example I have only one, so I’ll create it on Ethernet0. AllowManagementOS parameter will enable management traffic over that switch.
$net = Get-NetAdapter -Name 'Ethernet0'
New-VMSwitch -Name "External VM Switch" -AllowManagementOS $True -NetAdapterName $net.Name
This process will create an external switch linked to my Ethernet0 adapter. As part of this move, the IP settings are transferred to a new (virtual) adapter connected to that switch.
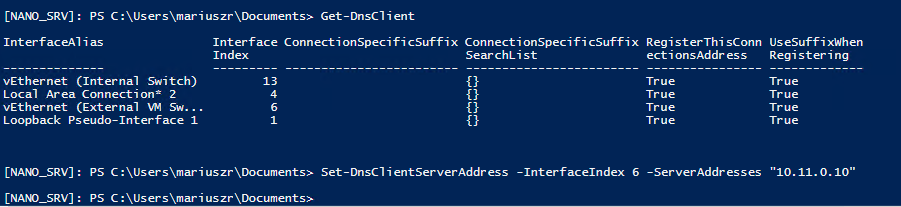
Because of a known bug with Microsoft, the DNS settings are cleared and we must reset it on the newly created switch interface:
First command is to identify ID of newly created switch
With second command we are setting new DNS server
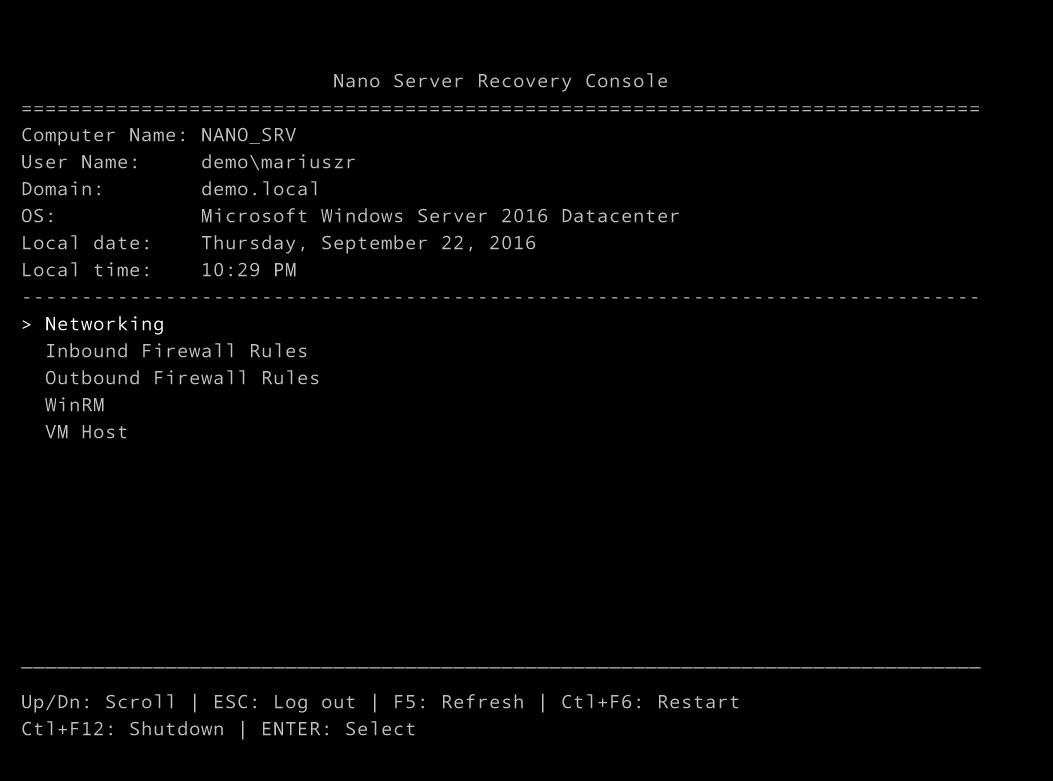
Now you should be able to log in to the Nano console with the domain credentials again. You can also check newly added switches directly in the Nano Server Recovery console.
Last thing before we create the first VM is to set some Hyper-V default options like default paths for VM and Virtual Hard Disk, authentication type, migration limitations, etc.
Next step, we’ll create the new VMs located on the local storage. We can use PowerShell or Hyper-V Manager for this. Bellow PowerShell way of creation.
We are creating Generation 2 VM with testVM name, 2 CPU, 1GB memory, new VHDX with 30GB size and connection to my Internal Switch.
At this moment we have a single Nano host with the Hyper-V role installed. We should be able to run the VMs from the local Nano storage. As there are no local management tools, we must use Hyper-V Manager from a remote server or workstation or use PowerShell, we’ll go through clustering of Hyper-V Nano
In previous parts of this Nano Server deployment series, we learned how to create, deploy and configure Nano Server as a Hyper-V host. In this part, we will look for a clustering option. We will create a Hyper-V cluster of 3 Nano Server host nodes with Storage Spaces Direct on it.
Before we start clustering, I prepared 3 hosts with 2 NICs (first for management, second for cluster communication only) and 2 SATA disks each.
Note: If you plan to build a test environment inside VMware VMs, then you may get the following error from Cluster Validation Wizard:
Disk partition style is GPT. Disk has a Microsoft Reserved Partition. Disk type is BASIC. The required inquiry data (SCSI page 83h VPD descriptor) was reported as not being supported.
To avoid this, you can add SATA disks instead SCSI. When using SATA disks, please configure a different controller ID for different disks across all nodes. The base on controller ID disks will get serial numbers, and it’s possible that different disks from different nodes will have the same serial number. This will cause problems for S2D.
The following configuration is made from an external computer I used for management. To be able to perform configuration remotely (by Invoke-Command or by CimSession parameter), I added all the required PowerShell modules for Hyper-V and Failover Clustering to my management machine.
I got a warning regarding the SCSI 83h VPD descriptor we mentioned earlier. We can ignore this warning since this is a system disk for Nano server, which will not be part of Storage Spaces Direct.
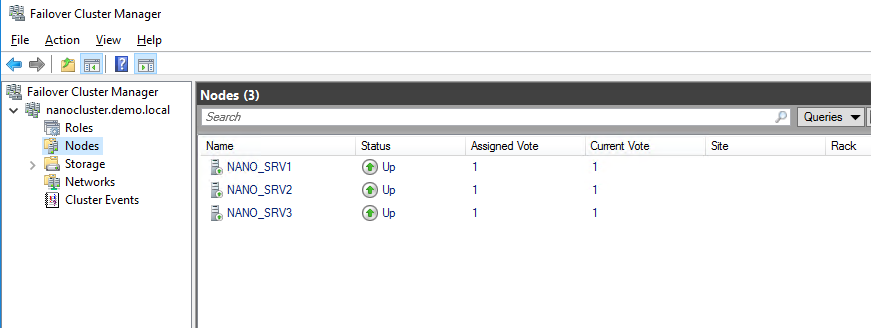
Now we will create a new cluster with three nodes.
The NoStorage parameter is to skip cluster storage configuration. We will setup Storage Spaces Direct later. I received a warning here relating to a missing witness.
Yes, only two commands are required for cluster creation. We can check it in Failover Cluster Manager.
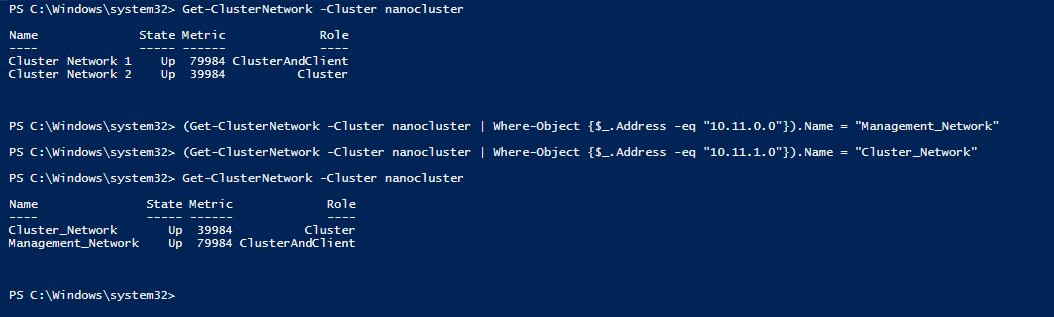
Now some network cosmetics. I’ll change the cluster networks name for easier identification.
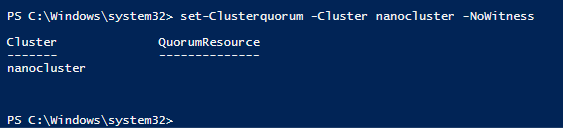
Before we take care of storage, lets configure the cluster quorum. I’ll use the node majority here.
Set-Clusterquorum -Cluster nanocluster -NoWitness
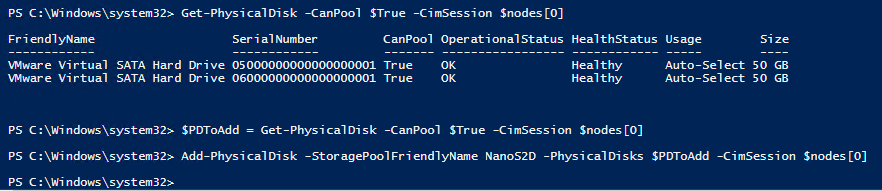
Now we will create Storage Spaces Direct (S2D). S2D can have from 2 up to 16 nodes. It will offer local server disks (SATA, SAS, NVMe) to be visible across the whole cluster. In my environment, I have 3 nodes, 2 disks each available for pooling. I can verify if I can see all of them by:
The first command is to create an array with all my nodes. I’ll use it to execute commands on specific hosts (0,1 or 2). The second command is to get all disks that can be pooled from all nodes. The CanPool parameter means that disks can be used in storage pool — we will use it in S2D.
All the disks I have are SSD, so no disk was chosen for cache.
Now, we can create a storage pool from all disks available for pooling. I also chose default settings for provisioning disk type and for resiliency. The second command is for creating a new disk base on the new storage pool. It will have the maximum size and a cluster-shared volume version of ReFS.
Now we have a few options for VM storage. We can use:
- CSV - Volume(s) located in c:\ClusterStorage. If you choose this option, you can create few smaller volumes instead of one big volume(as above), and balance volume ownerships among all cluster nodes.
- Scale-Out File Server (SOFS) – I’ll choose this option.
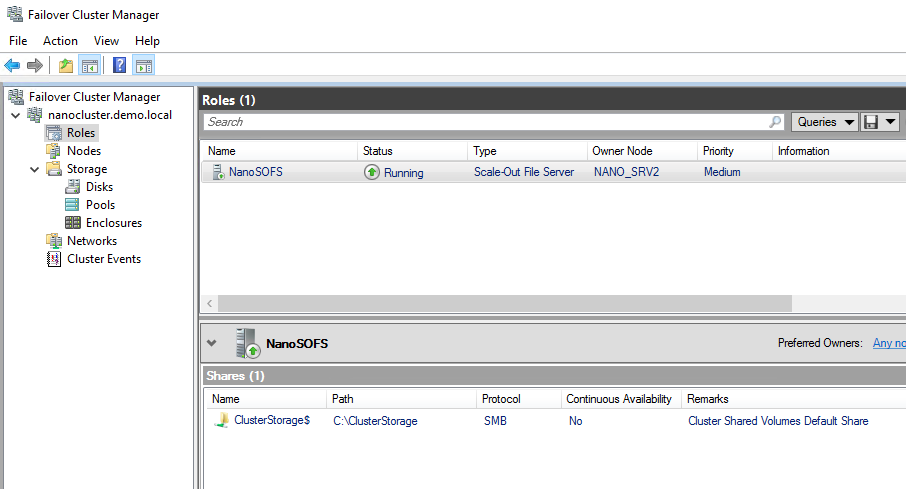
We will create Scale-Out File Server role for hosting VMs here.
SOFS role is created, but there still isn’t a share for VMs.
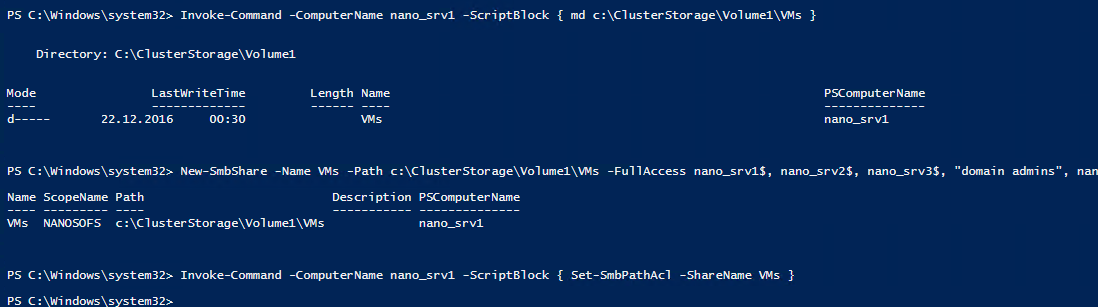
So, we will create one. The first command is to create a dedicated folder for VMs on our SOFS volume.
Second, is for SMB share creation. The share will be located on a previously created folder. We are also giving Full Access rights for all cluster nodes.
The last command sets the ACL for the file system folder to match the ACL used by an SMB share.
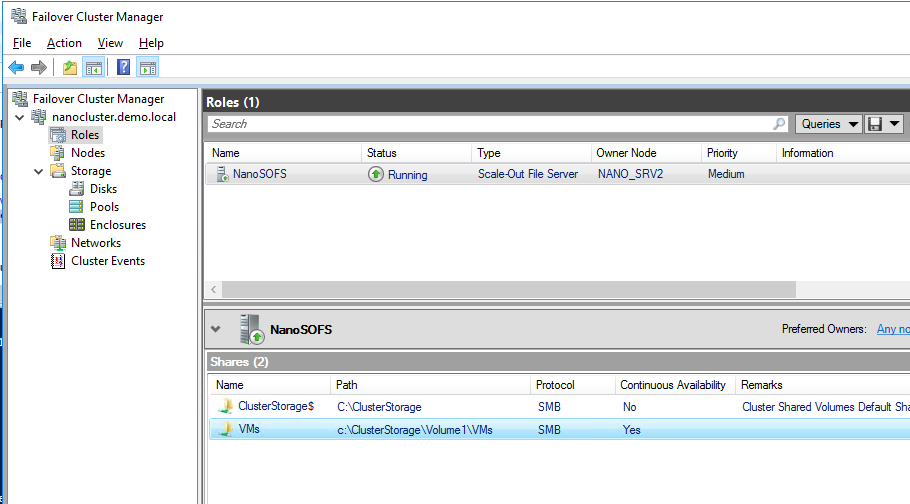
We can check the result in Failover Cluster Manager. Make sure the share is ready, and continuous Availability is enabled.
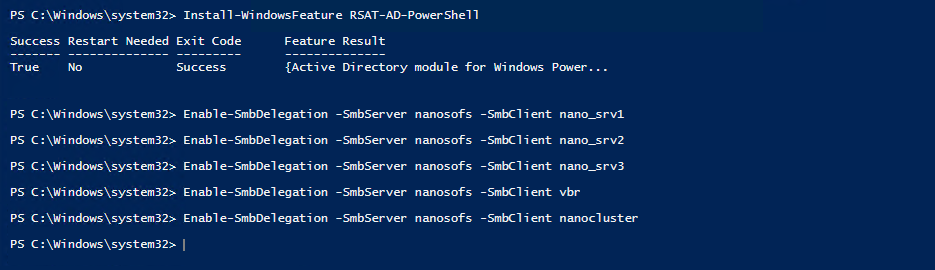
In our case, we have Hyper-V using SMB storage. To avoid access denied errors during VMs creation or VMs migrations, we should configure SMB Constrained Delegation. We can set it up in Active Directory Users and Computers for computer account properties (Delegation tab) or by PowerShell.
First, we must add an Active Directory PowerShell module. Then enable SMB delegation for each node. I added a machine from which all commands are executed.
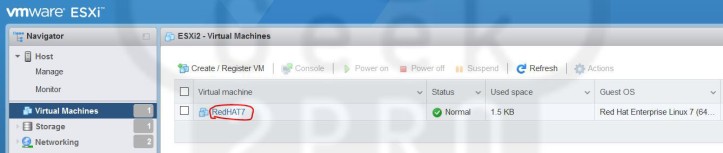
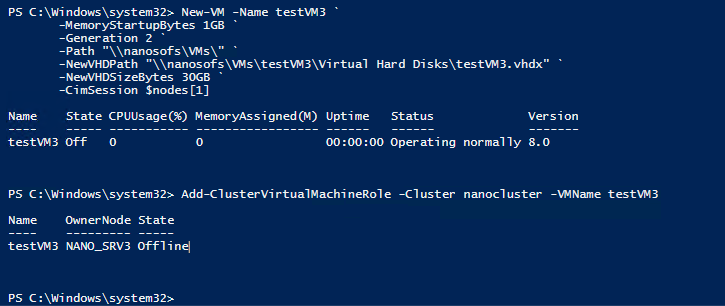
The cluster is ready, and now we can create VMs. With the same command, as in previous part of this blog series. The second command will cluster VMs from the first part.
Done. Now we have a fully working clustered Hyper-V environment with the Storage Spaces Direct.
If we have a lack of resources, we can add more nodes with the following commands. The first and last command is to check cluster members. The second command is to add an additional node.
Now we have four nodes. Disks from the new node are visible to the whole cluster. We can create a new storage pool or add disks to our current storage pool. We can do this by:
At this moment, we have new disks in the pool and we can extend our virtual disk. In GUI, we can specify new disk size or use the available maximum size while also taking in account that it’s in parity mode.
With PowerShell, we should calculate maximum available size by first command. It will get (Get-VirtualDiskSupportedSize) the available size of new disks in parity mode, and add to current disk size (Get-VirtualDisk). Result is in bytes.
That concludes our Nano Server deployment series — we went all the way from creating image through deploying, configuring, clustering and adding a new node. Hope you enjoyed the ride and we'll see you next time!